
You need to act quickly to save overwatered air plants. First, remove the rotten leaves and roots. Then place your plants in a well-ventilated area so they dry sufficiently and further rot is prevented. Do not water your plants for the next 7 days unless you live in a particularly dry environment.
To speed up the drying process you can use a fan on a low setting for 3-4 hours. Make sure the fan is not aimed directly at or too close to your lovely Tillandsia because they do not appreciate cold drafts.
One of the most common mistakes made by air plant owners is overwatering. This can lead to a variety of issues, including rot, mold, and eventually a dead plant. In this article, I discuss the signs of overwatering and how I go about trying to save overwatered air plants.
Very briefly, here are the steps you need to take …
- Reduce the watering frequency
- Reduce humidity levels
- Increase air circulation and ventilation
- Increase the amount of light
- Prune rotting leaves and roots
Overwatering will be detrimental to your air plant’s health, however, implementing certain best practices can help to save your plants …
Saving An Overwatered Air Plant (Step by Step)
Air plants are very good at adapting to changes in their environment and can tolerate infrequent watering. However, overwatering can quickly lead to rot and fungal infections, which can ultimately kill your plants.
Overwatering is common and can even happen to the most experienced Tillandsia enthusiasts so I’ve provided some useful information below on how to save overwatered air plants and prevent future issues from arising in the first place.
Step 1. Reduce The Watering Frequency
If you’ve overwatered your air plants, don’t worry …
The first step in reducing the watering frequency is to gauge how often you’ve previously watered your plants. Then reduce the frequency by at least 3 days. You aim to water your plants once every 7 days. However, if your plants are showing signs of rotting they should not be watered for the next 10 days to aid their recovery.
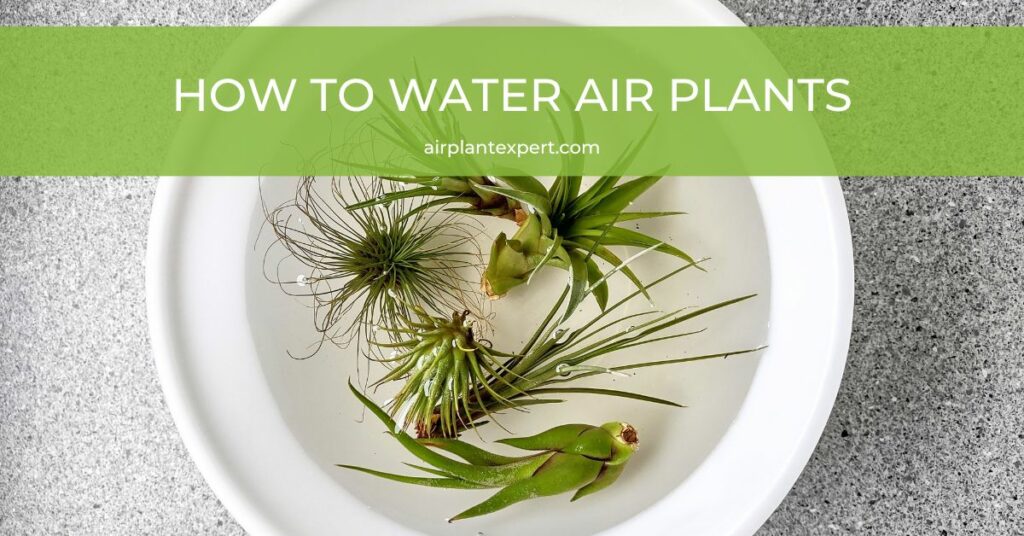
I recommend you start by soaking your Tillandsia for 20-30 minutes once a week. However, if you think your plants are being overwatered adjust the schedule to every 10 days.
Step 2. Reduce Humidity Levels
The ideal humidity level for most species of air plants is between 50-70%. Higher levels of humidity may increase the risk of overwatering because your plants will already have access to moisture from the surrounding air. Higher levels also increase the risk of moisture retention on your Tillandsia leaves which can lead to mold and rot.
Here are some useful ways to decrease the humidity level in an indoor environment.
Active Ventilation – is an efficient way to decrease humidity levels. By providing constant airflow the excess moisture in the air can quickly dissipate resulting in a drier environment for your air plants. You can use fans or open windows to establish active ventilation in a room where your plants are located. This is the easiest and most practical way to control humidity levels.
Dehumidifier – a dehumidifier is another effective way of reducing the humidity level in an indoor environment. A dehumidifier works by pulling moisture out of the air and collecting it in a water tank. Be sure to select a dehumidifier that is appropriate for the size of the room and check it regularly to ensure it is working properly.
Avoid Closed Terrariums – Closed terrariums are typically not recommended for Tillandsia because they can trap moisture causing humidity levels to rise. This can lead to overhydration of the leaves and cause damage to your beautiful air plants. If you do choose to use a closed terrarium ensure it is properly ventilated daily with adequate airflow to prevent moisture from accumulating.
Maintaining the ideal humidity level is essential to keeping your air plants happy and healthy.
If you need help establishing the correct humidity level in your home you can always purchase a micro-climate meter. They measure the temperature, humidity, and light levels in your home, helping you create the ideal environment for your plants to thrive.
Step 3. Increase Air Circulation And Ventilation
One critical aspect of air plant care is good air circulation and this is particularly true for overwatered plants. Poor ventilation can lead to excess moisture buildup on the leaves and base of your plants causing fungal infections that can lead to rotten leaves and roots.
To increase the air circulation and ventilation relocate your plants to an open area with plenty of airflow. This could mean moving your plants to a different room or even outside during the day if possible. This will help to disperse moisture and dry out any excess water on your air plants. If relocating your Tillandsia is not an option consider adding a fan to the room to help increase the amount of air circulation.
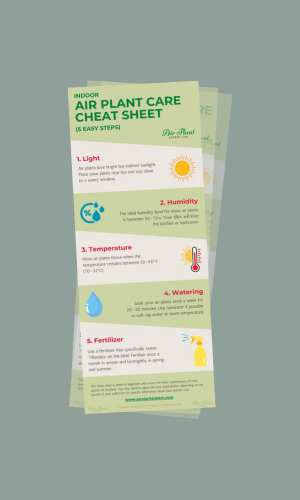
Get Your FREE Air Plant Care Cheat Sheet
5 easy steps to keep your air plants happy and healthy.
Step 4. Increase The Amount Of Light
To ensure the health and vitality of your air plants it’s essential to provide them with the right amount of light. Inadequate lighting can cause growth problems and reduce the plant’s ability to absorb water.
The ideal lighting condition for Tillandsia is bright but indirect light. If you think your air plants are suffering from overwatering it can help to relocate them to an area with plenty of bright light to help them recover more quickly.
Perhaps you could try another room or closer to a window that receives plenty of natural light. Supplemental lighting is also an option, especially if a good location with natural light is difficult to find. For example, you can use artificial lighting sources like fluorescent bulbs or full-spectrum LED lights.
Step 5. Prune Rotting Leaves And Roots
Overwatering air plants can cause the roots and leaves to rot leading to a decline in your plant’s overall health. Therefore, it is essential to take immediate action to address this issue and prune any affected parts of your plants.
These parts will appear mushy, dark brown, or black. Carefully cut off these parts using a sterilized tool such as a pair of scissors or a knife, making clean cuts to prevent damage to the healthy portions of your plants. Make sure you keep your fingers safe and always cut away from you.
Removing the unwanted foliage or roots will reduce the load on your plants allowing them to focus on new healthy growth. This process will also help to prevent the spread of any rot or diseases to the remaining areas of your plants.
Signs And Symptoms Of Overwatered Air Plants
Overwatering is a common issue, however, it’s easily fixed if you know what signs and symptoms to look for. Minor signs of distress may be associated with other issues like too much direct light or fertilizer for example. However, overwatering symptoms often appear more rapidly and if left unchecked can lead to the plant’s demise.
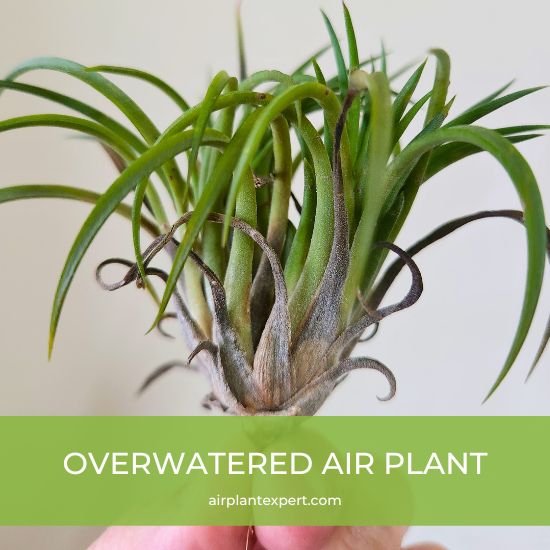
Here are the most common signs and symptoms associated with overwatered air plants …
Wilting
Wilting is a typical sign of overwatering. When the leaves start to droop or look limp it’s time to act quickly to prevent further damage.
To address wilting you should first remove the plant from its container and gently shake off any excess water. Next, examine the roots and leaves for any signs of rot or fungal infections. If you notice any brown spots or mushy black areas on the leaves or roots trim them off with a pair of sterilized scissors or a knife.
Wilting air plants should be placed in a well-ventilated and warmer area. This will help your plants to process the excess water in their leaves and help them recover more quickly.
Brown Spots Or Discoloration
Brown spots or discoloration in air plants are common signs of overwatering. When Tillandsia are exposed to excessive moisture their cells can burst causing discoloration in their leaves.
Your Tillandsia leaves may also turn brown if they are exposed to too much moisture from the surrounding air. This is unlikely to happen if you keep your air plants in an indoor environment where the air tends to be very dry. However, if you spray your plants too often and they do not have time to dry in between spraying you may notice brown spots or patches appearing on your plant’s leaves or the main body of your plants.
Do not confuse brown spots with brown leaf tips. Brown leaf tips are likely due to underwatering or too much sunlight rather than overwatering.
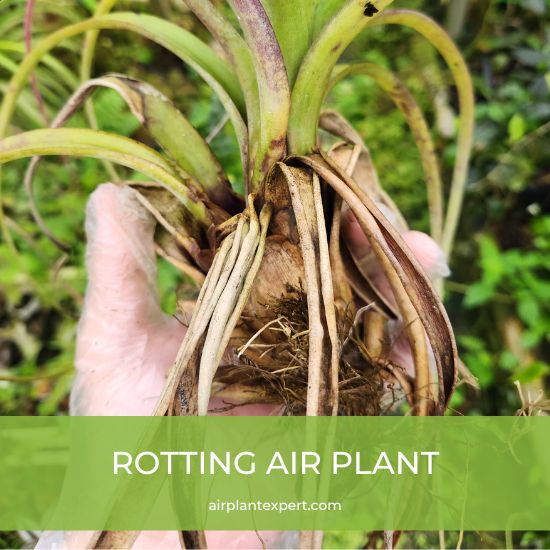
Soft, Squishy Leaves (i.e. Rot)
If you notice any soft and squishy leaves on your air plants it’s almost certainly a sign of overwatering and rot. Rotting leaves usually go dark brown at first and then turn into black mulch. Rotten leaves should be removed immediately to prevent fungal infections and further rot.
Fungal Infections
When Tillandsia are regularly exposed to excess moisture they become a breeding ground for bacteria and fungus, leading to the development of slimy surfaces and rotting. Fungal infections can appear in a multitude of colors from white to yellow, and even red, and include small white dots or areas of slime.
Treating fungal infections requires immediate action and consistent treatment with natural fungicides. With a bit of patience and the right approach, you can save your air plants from fungal infections and keep them healthy for years to come.
Root Rot
The most common sign of root rot is soft squishy dark brown roots detaching from your air plants. If you discover root rot remove the affected roots immediately. It is important to remove all the infected parts as this will help to prevent further rot and the development of harmful bacteria and fungus.
Common Causes Of Overwatering In Air Plants
Underwatering is the most common mistake growers make when caring for their air plants. On the flip side, however, I suspect overwatering comes in a close second.
Here are the most common causes of overwatering Tillandsia …
- Too frequent misting or soaking
- High humidity levels
- Insufficient air circulation
- Insufficient light
- Disease and parasites.
We have an article on how best to water your air plants if you’re interested in learning more about the subject.
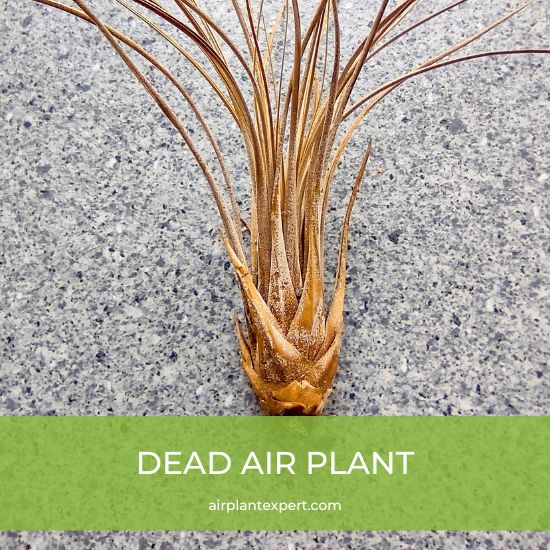
Is My Air Plant Dead?
Air plants are low maintenance and easy to care for, however, there may be times when you notice your Tillandsia is not looking their best. It can be difficult to tell if an air plant is dead or if it’s just in need of some extra love. Here are some signs to look out for to determine if your air plants are dying or dead …
The most obvious sign of a stressed air plant is dry, convex-shaped leaves. If the leaves are brown, dry, and discolored this may indicate the plant is not getting enough water or too much sunlight. In contrast, soft and squishy foliage is another indication of a stressed plant due to either excessive moisture or disease.
Without intervention, the above stresses will eventually lead to the demise of your air plants.
To determine if your air plants are truly dead gently tug on their leaves and see if they easily detach. If the leaves come off with little to no resistance the plant has or is likely reaching the end of its life. However, if there is still some resistance there may be hope.
Plants that appear dull, dry, and very light are usually dead. If they make a crispy sound when you pick them up that’s a good indication that they either recently died from dehydration or have been dead for quite some time and subsequently dried out.
While it may be disappointing to see a failing plant, taking steps to potentially revive it can bring it back to full health. Patience is the key to reviving dying air plants as it may take time for the plants to show signs of improvement and life.